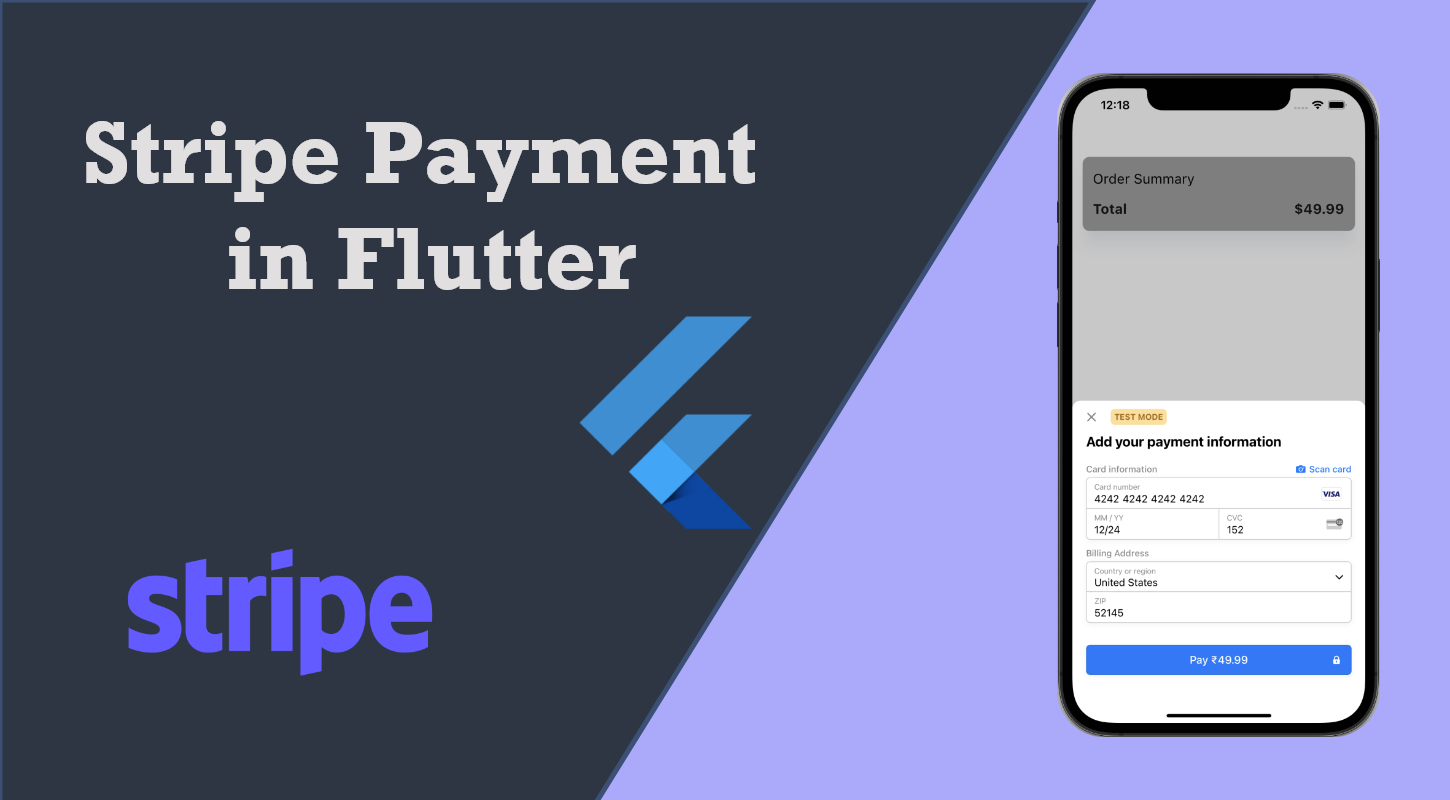
Stripe Payment in Flutter
In this article, we will explore a Stripe payment gateway integration with a flutter app. I will show a small demo program to integrate into your flutter app.
You can get source code of following example at github.
Checkout other flutter related blog here.
The Stripe Flutter SDK
Let’s take a look at some of Stripe’s features that we’ll integrate into our Flutter app using the Stripe Flutter SDK.
Note: Below example is made with stripe Test mode, for real payment you need to activate payment by providing required detail to stripe account.
Payment options
Stripe first gained notoriety for simplifying international transactions in applications by supporting multiple currencies. Currently, Stripe supports many types of electronic payments.
For example, you can easily integrate wallets like Apple Pay and Google Pay into your Flutter application. Similarly, Stripe supports most popular credit and debit cards, as well as buy now pay later methods like Klarna and Afterpay.
It is straightforward to transfer funds between bank accounts using methods like redirects and vouchers. Stripe offers a payout schedule that makes it easy for you to add your own bank account information and receive payments made through your mobile app.
Built-in UI
Stripe provides a native UI for securely accepting payments in both Android and iOS applications. Similarly, the SDK is shipped with a prebuilt UI for accepting payments in Google Pay and Apple Pay. However, you can easily build your own custom payment form in Stripe if you wish.
With Stripe’s built-in payment portal, you can set up either one-time purchases or fixed-price subscriptions.
Security
Stripe maintains its focus on security by sending sensitive payment information to its own server instead of the host’s backend server, simplifying the collection of data and remaining compliant with Payment Card Information (PCI) security standards.
Additionally, Stripe performs 3D Secure authentication to comply with Europe’s Strong Customer Authentication guidelines, protecting your users’ most important information.
Getting started with Stripe
If you don’t have a Stripe account, first, create a new one. You’ll need to obtain your public key from your account. Head to the Developer section and look under API Keys, as seen in the screenshot below:

Implementation :
To avoid compatibility issues, you should set up your project to match the required specifications below.
Android
For an Android OS, you’ll need the following:
- Set
compileSdkVersionto 33 or higher - Set
minSdkVersion21 or higher - A descendant of
Theme.AppCompactfor your activity FlutterFragmentActivityinMainActivity.ktinstead ofFlutterActivity
iOS
The Stripe Flutter SDK is compatible with apps targeting iOS 11 and above.
To avoid build error, navigate to iOS settings and find the stripePublishableKey proj or Runner.xcworkspastripe publishable key. Set the deployment target for the app to 12.0:

Go to Pub.dev and find latest version of flutter_stripe dependencies and add it to your project.
dependencies:
  flutter_stripe: ^version
Building the App
Initialisation
To communicate with the Stripe API from your Flutter app, copy the stripePublishableKey from the Stripe dashboard. Now add this key at initial level of that app.
import 'package:flutter/material.dart';
import 'package:flutter_stripe/flutter_stripe.dart';
import 'package:flutter_stripe_demo/screen_stripe_payment.dart';
Future<void> main() async {
WidgetsFlutterBinding.ensureInitialized();
Stripe.publishableKey = "your_publishable_key";
Stripe.merchantIdentifier = 'any string works';
await Stripe.instance.applySettings();
runApp(const MyApp());
}
class MyApp extends StatelessWidget {
const MyApp({Key? key}) : super(key: key);
@override
Widget build(BuildContext context) {
return const MaterialApp(
title: 'Stripe Demo',
debugShowCheckedModeBanner: false,
home: MyHomePage(),
);
}
}
class MyHomePage extends StatefulWidget {
const MyHomePage({Key? key}) : super(key: key);
@override
State<myhomepage> createState() => _MyHomePageState();
}
class _MyHomePageState extends State<myhomepage> {
@override
Widget build(BuildContext context) {
return Scaffold(
body: Center(
child: ElevatedButton(
style: ElevatedButton.styleFrom(
primary: Colors.green,
),
onPressed: () => Navigator.of(context)
.push(MaterialPageRoute(builder: (context) => const ScreenStripePayment())),
child: const Text('Make Payment'),
),
),
);
}
}In the code block above, we import the Flutter Stripe SDK and initialize Stripe with the StripePublishableKey. From here we can navigate to payment screen where stripe payment sheet in created. And it will look like bellow screenshot.

Server Stub
Since I want this post to be as understandable as possible, I decided to create a stub of a real server. We will create a Server class in our Flutter app which will call Stripe API. This reduces the complexity of this workflow as we only need one source code to get the payment, however, it also introduces HUGE SECURITY VULNERABILITY as in the example I will have a Secret Key obtained from Stripe in my mobile app. This is a big no-no. You can’t have your secret key installed somewhere in your users’ devices. I know it works but please, DON’T DO IT IN REAL APPS. This stuff should be done by the backend team. 😉
import 'dart:convert';
import 'dart:io';
import 'package:dio/dio.dart';


/// Only for demo purposes!
/// Don't you dare do it in real apps!
class Server {
  Future<String> createCheckout(int amount) async {
    final auth = 'Basic ' + base64Encode(utf8.encode('secret_key'));
    final body = {
    'amount': amount,
    'currency' : 'inr',
      'customer':"customer_id"
    };

    try {
      final result = await Dio().post(
        "https://api.stripe.com/v1/payment_intents",
        data: body,
        options: Options(
          headers: {HttpHeaders.authorizationHeader: auth},
          contentType: "application/x-www-form-urlencoded",
        ),
      );
      return result.data['client_secret'];
    } on DioError catch (e, s) {
      print(e.response);
      rethrow;
    }
  }
}
Payment Screen
Let’s start with simple button which will call our “server” and get the new payment intent id for payment and setup payment sheet for payment, we also enable GooglePay and ApplePay by giving property in SetupPaymentSheetParameters :
port 'package:flutter/material.dart';
import 'package:flutter_stripe/flutter_stripe.dart';
import 'package:flutter_stripe_demo/screen_payment_success.dart';

import 'dummy_server.dart';

class ScreenStripePayment extends StatelessWidget {
  const ScreenStripePayment({Key? key}) : super(key: key);

  @override
  Widget build(BuildContext context) {
    return Scaffold(
      body: Column(
        children: [
          Container(),

          const SizedBox(height: 100),
          SizedBox(
            width: double.maxFinite,
            //height: 94,
            child: Padding(
              padding: const EdgeInsets.symmetric(horizontal: 15),
              child: Material(
                  color: Colors.grey,
                  elevation: 20,
                  shadowColor: const Color(0x2b556ea0),
                  borderRadius: BorderRadius.circular(10),

                  child:Padding(
                    padding: const EdgeInsets.symmetric(horizontal: 15,vertical: 20),
                    child: Column(
                      crossAxisAlignment: CrossAxisAlignment.start,
                      children: [
                        Row(
                          children: const [
                            Text("Order Summary",style: TextStyle(fontSize: 20, color: Colors.black),),
                            Spacer(),
                          ],
                        ),

                        const SizedBox(height: 20,),

                        Row(
                          children: const [
                            Text("Total",style: TextStyle(fontSize: 20, fontWeight: FontWeight.bold),),
                            Spacer(),
                            Text("\$49.99"
                              ,style: TextStyle(fontSize: 20, fontWeight: FontWeight.bold),)
                          ],
                        ),
                      ],
                    ),
                  )
              ),
            ),
          ),

          const Spacer(),

          ElevatedButton(
            style: ElevatedButton.styleFrom(
              primary: Colors.green,
            ),
            onPressed: () async {

              final clientSecret = await Server().createCheckout(4999);
                  debugPrint("clientSecret $clientSecret");
              var setup = SetupPaymentSheetParameters(
                  paymentIntentClientSecret: clientSecret,
                  style: ThemeMode.light,
                  customerId: null, merchantDisplayName: "MERCHANT");
              await Stripe.instance.initPaymentSheet(paymentSheetParameters: setup);
              try {
                await Stripe.instance.presentPaymentSheet();
                Navigator.of(context).pop();
                Navigator.of(context).push(MaterialPageRoute(builder: (context) => const ScreenPaymentSuccess()));
              } catch (e) {
                debugPrint(e.toString());
                ScaffoldMessenger.of(context).showSnackBar(const SnackBar(content: Text("Payment decline", style: TextStyle(fontSize: 20))));
              }
            },
            child: const Padding(
              padding: EdgeInsets.symmetric(horizontal: 40, vertical: 10),
              child: Text('Pay', style: TextStyle(fontSize: 25),),
            ),
          ),

          const SizedBox(height: 100,),
        ],
      ),
    );
  }
}
After implementing above code we will able to get Stripe Payment sheet. According to stripe doc will will present payment sheet and wait to complete payment process, In case is there is payment failure stripe will throw exception which we have to catch on try-catch block else will continue executing further code successfully. And it is going to look something like this.
Payment Success
After Successful payment we will redirect user to any success screen fro confirmation. Below is the screen for thank you message.
import 'package:flutter/material.dart';

class ScreenPaymentSuccess extends StatelessWidget {
  const ScreenPaymentSuccess({Key? key}) : super(key: key);

  @override
  Widget build(BuildContext context) {
    return Scaffold(
        body: Column(
          mainAxisAlignment: MainAxisAlignment.center,
          children:  [
            Row(
              mainAxisAlignment: MainAxisAlignment.center,
              children: const [
                Text("Payment Success", style: TextStyle(fontSize: 30, fontWeight: FontWeight.bold),),
                SizedBox(width: 10,),
                Icon(Icons.check, color: Colors.green,size: 40,)
              ],
            ),
            const SizedBox(height: 50,),
            const Text("Thank you", style: TextStyle(fontSize: 25, fontWeight: FontWeight.bold),),
          ],
        )
    );
  }
}
And that’s it!
Now after completing the demo, Whole payment process looks like this:

Conclusion
This article would serve as an Exploratory article for Stripe Payment in Flutter and its working using Flutter.
I hope this blog will provide you with sufficient information in Trying up Stripe Payment in Flutter in your flutter projects. This is a demo example(Source code) that will integrate Stripe payment in a flutter. And you can use it your flutter application for payment purpose, Thanks for reading my article so far.